Using the CLI
Installation
The preferred way to install the CLI is using pipx:
pipx install bandcrash
See bandcrash --help for detailed help on the CLI.
Album setup
You can bootstrap an album JSON file with:
bandcrash --init input_dir
where input_dir is where you’ve kept a bunch of .wav files for your album tracks. This will generate a file named album.json by default, although you can override this name using the --json parameter.
Next, see the metadata format for additional information on what goes inside this JSON file.
Note that .bcalbum files generated by the GUI will also work with the CLI; I highly recommend using the CLI in this way.
Encoding
Run Bandcrash with:
bandcrash input_dir/album.json output_dir
and it will automatically encode the album based on its settings and, if so configured, upload to itch.io. This will also work with .bcalbum files (which are just JSON with a different extension), e.g.:
bandcrash 'music/my album/my album.bcalbum' output_dir
If you want to override the encoder arguments, remember to put them in quotes; for example:
bandcrash --mp3-encoder-args="-q:3 -joint_stereo:0"
Output formats are mostly enabled by default, aside from CD authoring files, which must be enabled with --cdda or by setting the "cdda" flag in the album definition file. You can always force a format to be generated or not generated with e.g. --mp3, --no-mp3, and so on.
Uploading to itch
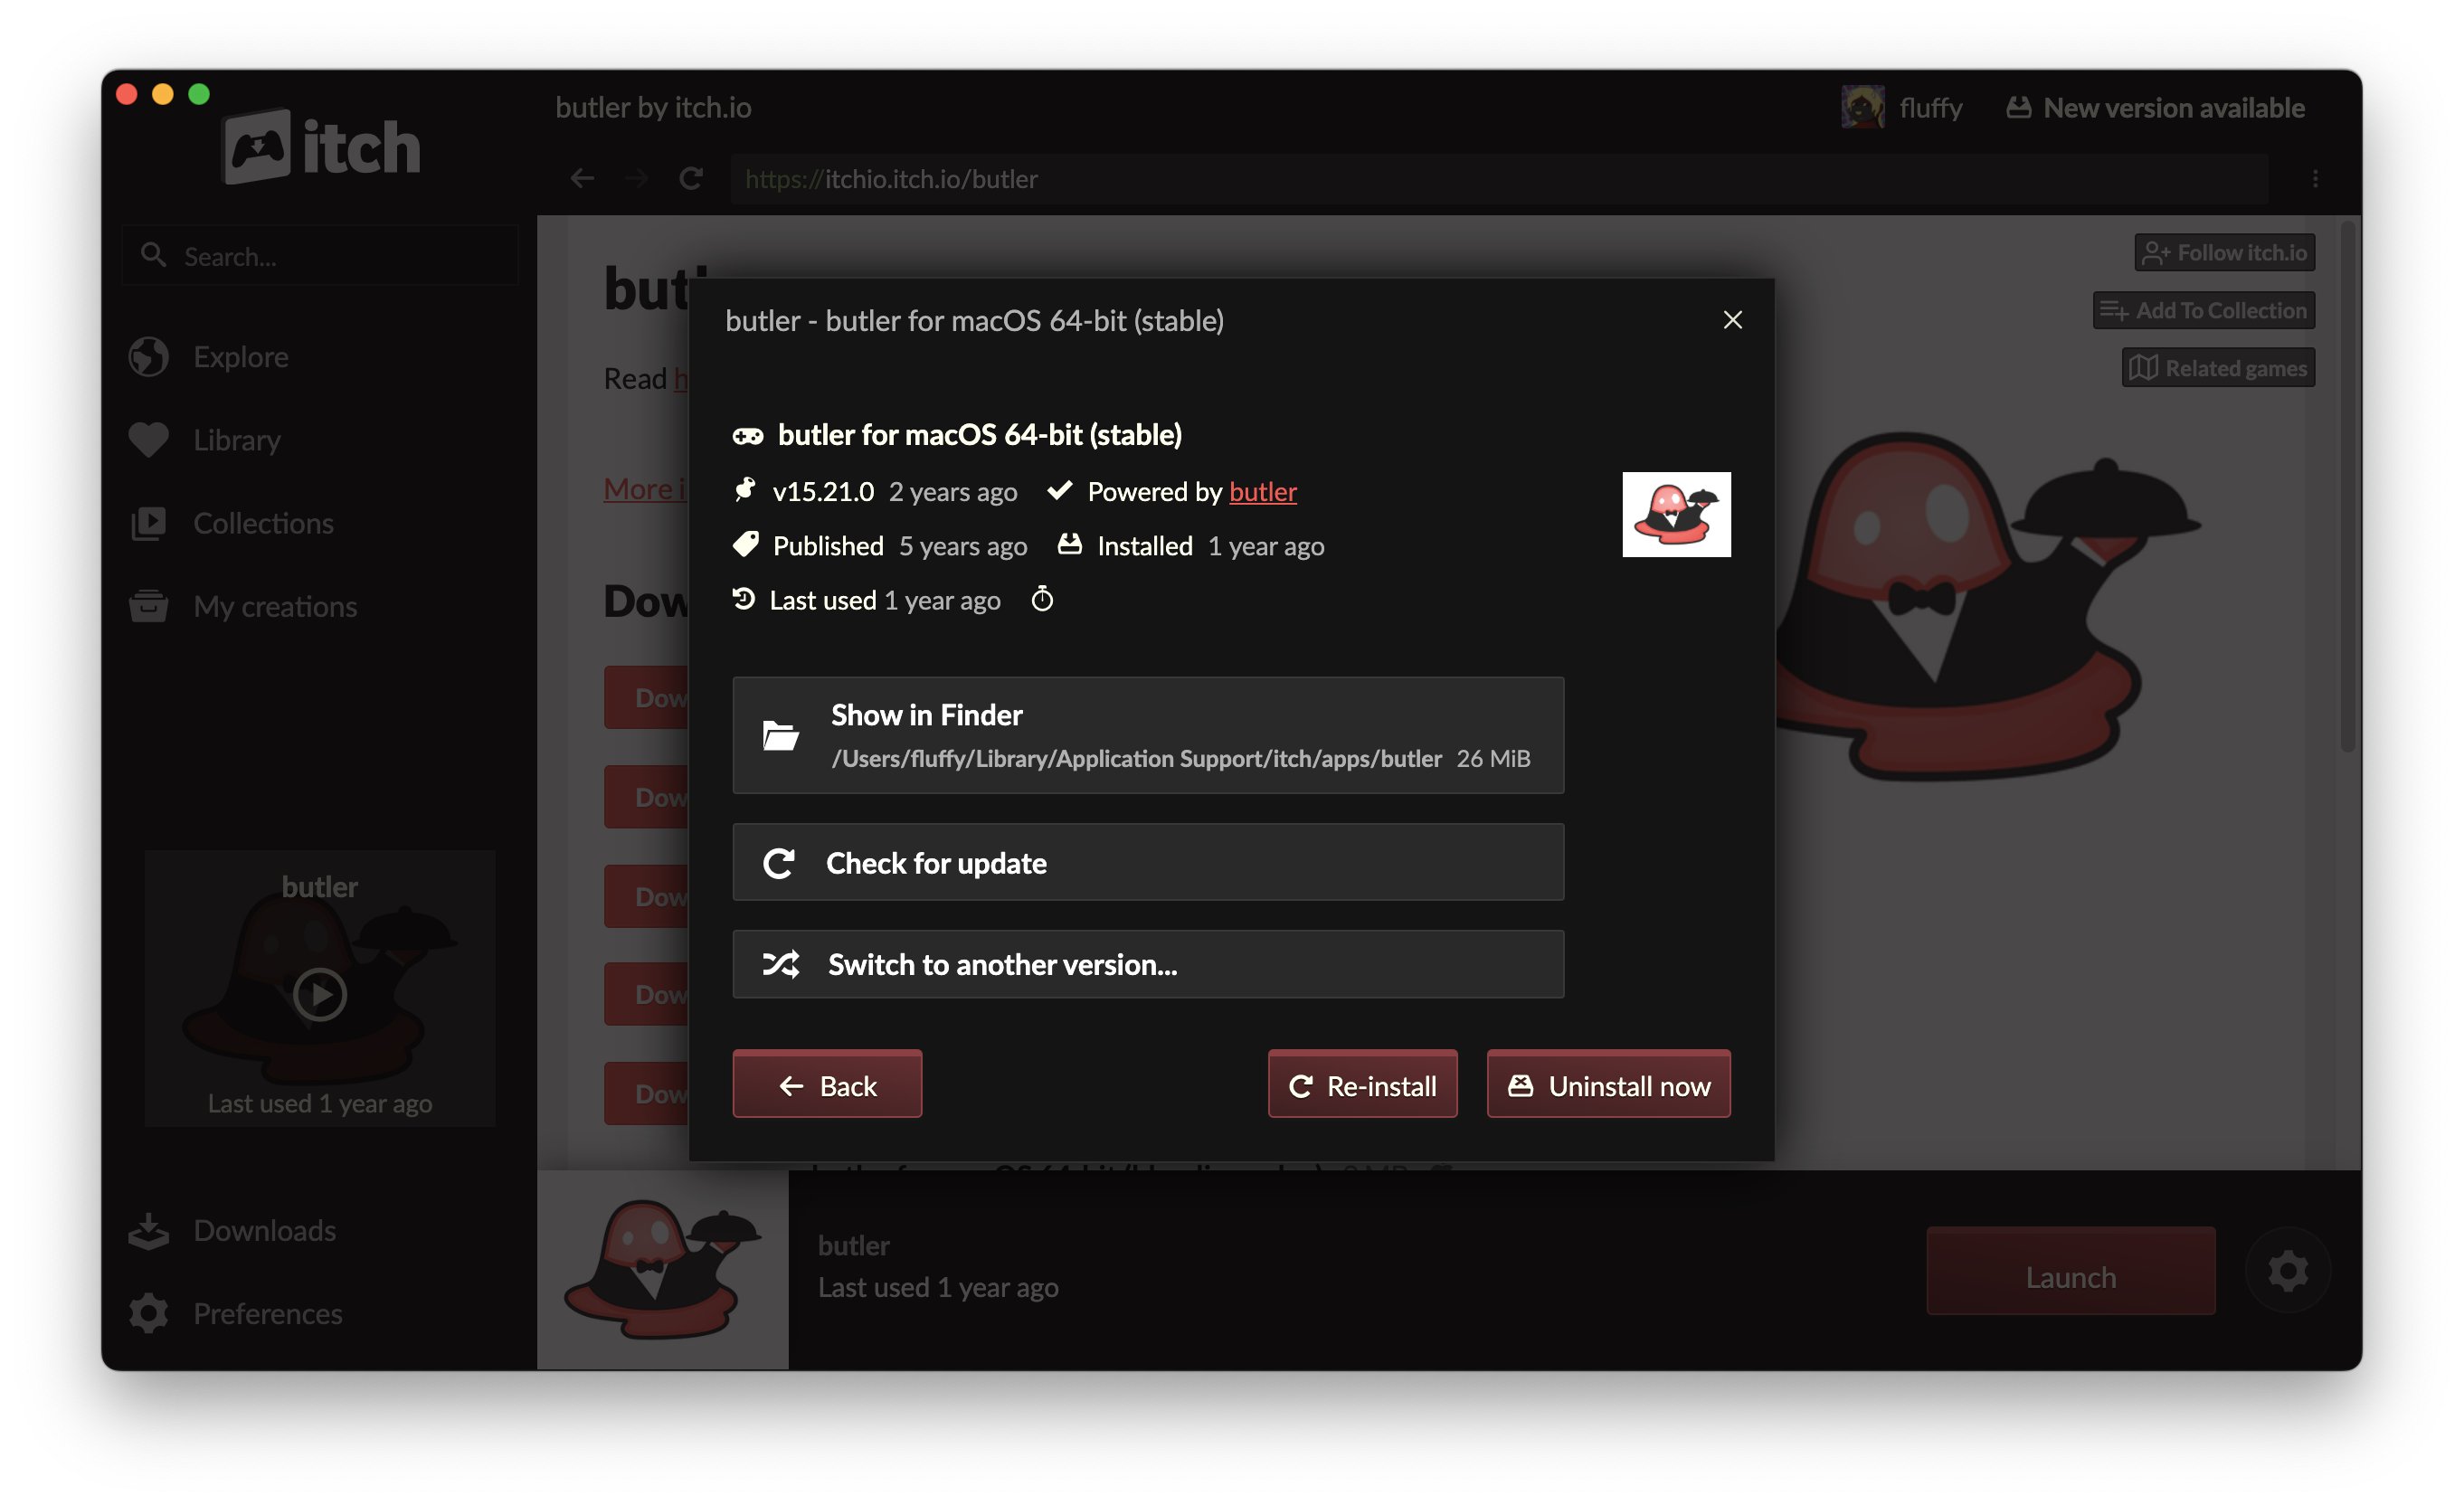
If you plan on uploading your albums to itch.io, it is highly recommended that you install butler (ideally from the itch app). After doing this, add butler to your path (either by adding its directory to your PATH environment variable or by putting a symlink to the binary somewhere useful). You can also specify the Butler path at runtime using --butler-path.
Tip
If you’re using the Itch app, you can find the binary by going to Butler in your library, clicking the gear icon, then selecting “Manage” and looking at the Show in Finder/Explorer button.
After that, run butler login to connect Butler to itch.
